So I’m actually incredibly happy with this one. It hits all the right buttons for me: it’s a novel gameplay mechanic, I implemented something technically challenging, and I think I’ve achieved a really nice atmosphere in general. I implore you to give this one a play. Download here.
Headphones are recommended. W, A, S and D to move, mouse to aim, M to mute the sound if you really want to, but I advise against it.
Development
The process for this one was fairly smooth. I had the concept pop into my head fully-formed during a conversation with my housemate on the previous Sunday. Due to other commitments I didn’t start coding until Thursday, but I knew what I had to do to get the game done. I’m going to assume you’ve played it above, but if not I’ll include a few screenshots in the gallery below for reference.
Field of View
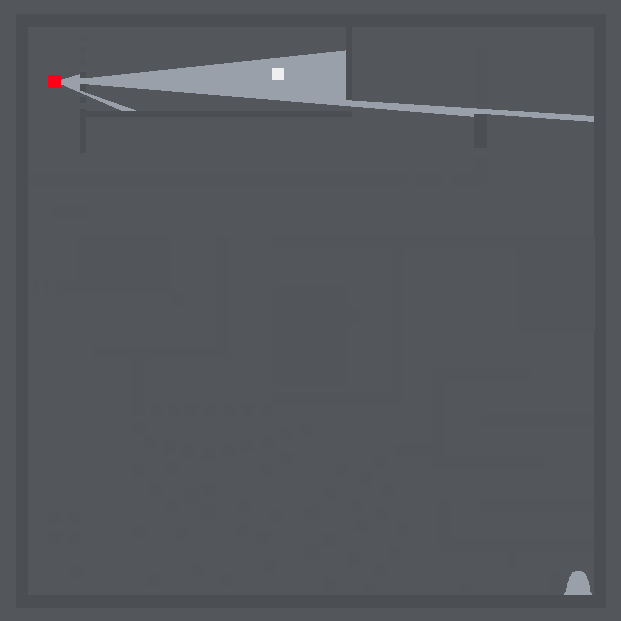
The most striking feature of the game is the field of view mechanic. Using the mouse to aim, the player controls a faux-lightcone emanating from the character, simulating the area in which the character is able to see. This kind of thing has been applied in a few games before, notably Monaco and Mark of the Ninja. The function in both is similar to the purpose served here, to limit the player view to what the character can actually see.
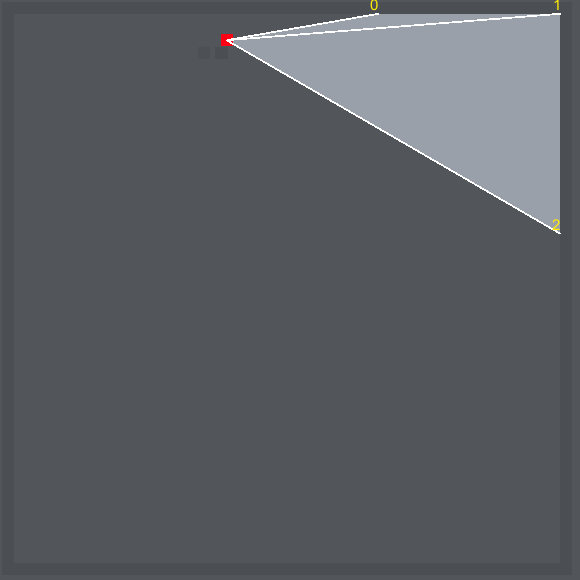
This mechanic was vital to my vision for the project, but I had no idea how to implement such a thing. I did some fervent Googling and came up with a few tutorials, and a few ready-made Unity plugins, such as this one. I could have used such a pre-made solution, but I wanted the experience of writing it myself. I followed the example laid out in this tutorial, namely the rough algorithm laid out by the following three points:
- Calculate the angles where walls begin or end.
- Cast a ray from the center along each angle.
- Fill in the triangles generated by those rays.
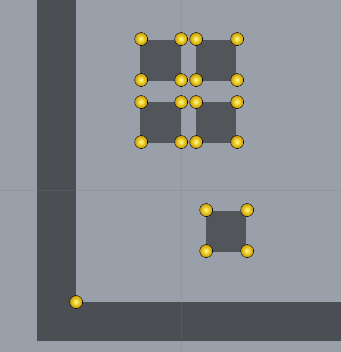
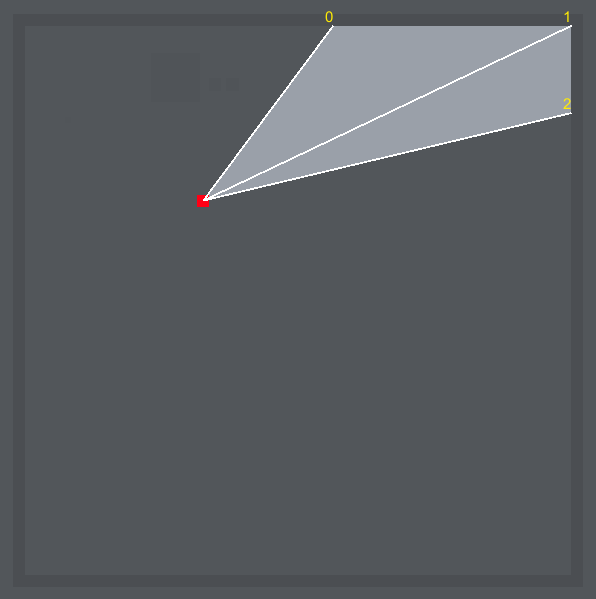
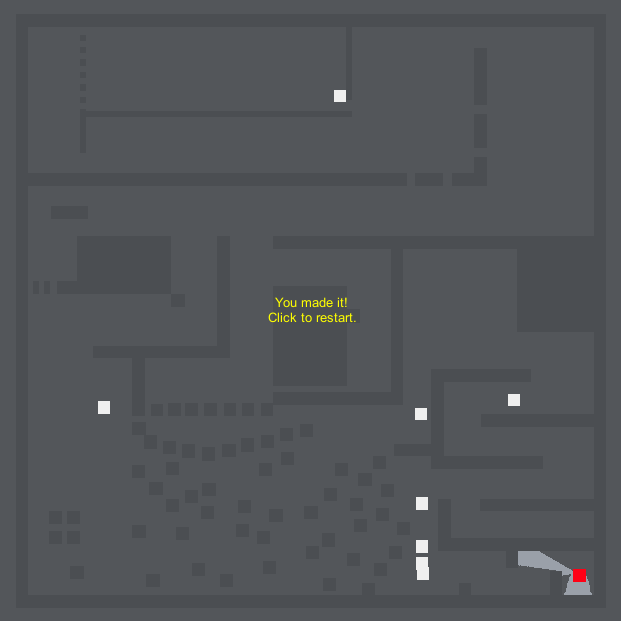
WallCorner GameObjects are denoted by the yellow dots
Knowing I only had a few days to implement everything, I chose what I deemed to be the path of least resistance. I made a prefab in Unity for the walls which has four GameObjects at each corner. This allowed me to quickly find and iterate through all the corners in the scene, effectively taking care of points one and two above. The third point, however, turned out to be more difficult.
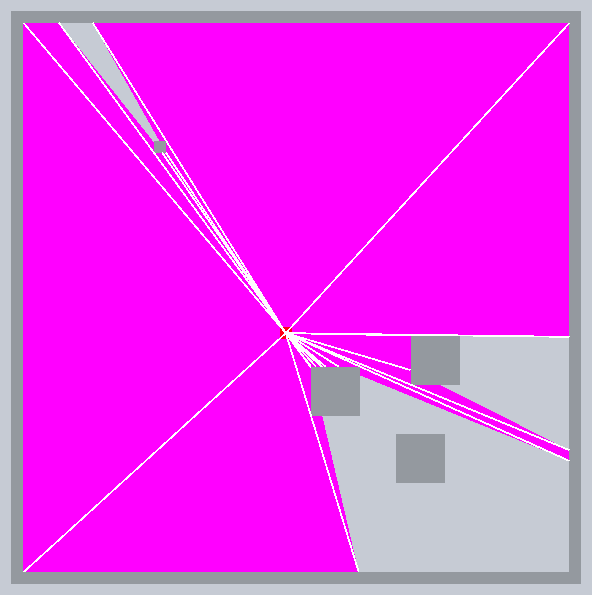
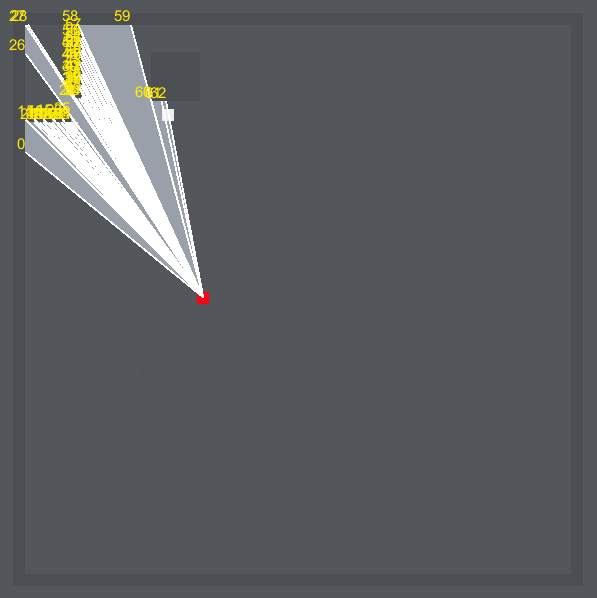
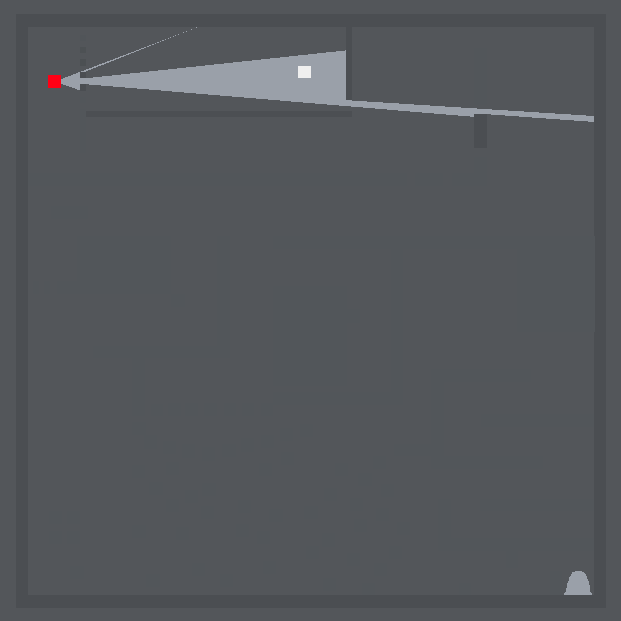
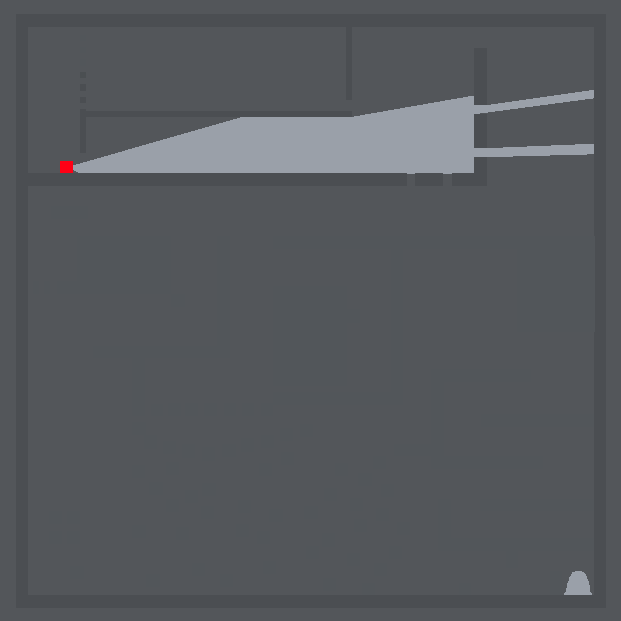
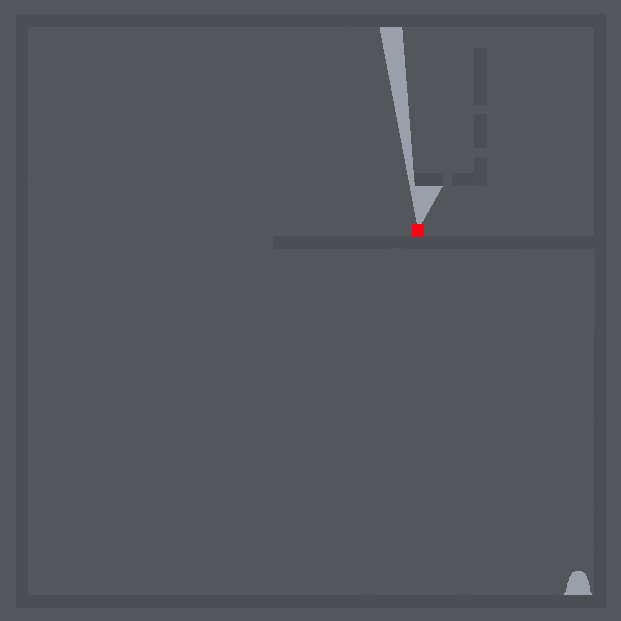
I got a version working by simply ordering each wall corner according to the angle it is at relative to the character, then creating a mesh that creates a fan of triangles using each point and the character as the centre. This provided a nearly working solution, the only problem being that the mesh did not take corners of walls into account, visible in the bottom right here.
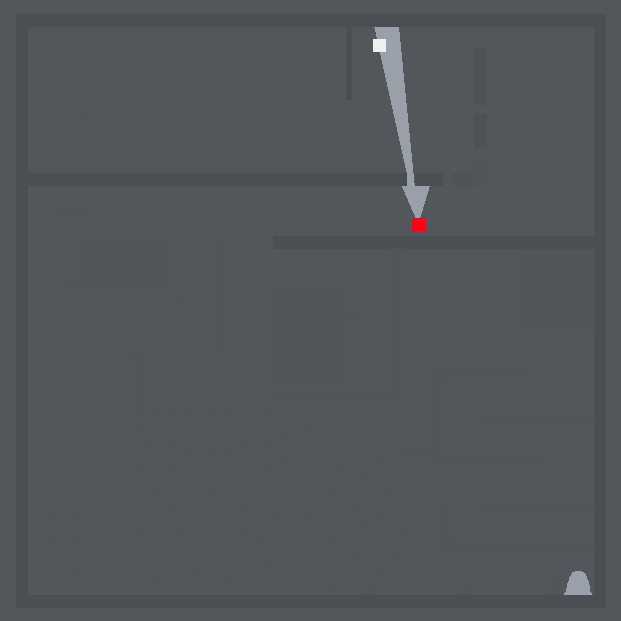
The solution to this was to create an extra vertex at this corner point. After implementing this caveat correctly, the final step was to restrict the mesh by using two rays as the start and end of the mesh according to the viewing angle desired. The result is what you can see in the game, and though it isn’t perfect (the mesh sometimes flickers at certain points) I am proud of the effect given I wrote it in two days.
Audio
A new addition compared to previous weeks is the use of audio in the game. This was another core part of the concept that I felt needed to be included, but was yet again a new area for me to explore. Fortunately, Unity’s audio tools are extremely easy to use, and I had most of my functionality set up within half an hour. The player character has an audio listener component attached, which means all the sounds are relative to it; if you play the game wearing headphones, you will be able to tell when an enemy is to your left or your right because of this.
As for the enemies themselves, they each contain an audio source, which is controlled by a simple script. Once the player has seen the enemy, they start making noise, which gets louder if the enemy is outside the field of view. The volume increasing due to proximity to the player is handled completely by the aforementioned audio listener. Each enemy also has a shorter clip that plays whenever the enemy enters the field of view, controlled by a single call to PlayOneShot.
There’s not much left to be said on the subject, I simply tweaked the minimum and maximum distances and the volume rolloff curve until I thought they worked well, and that was it. Unity was ludicrously easy to use for this.
Pathfinding
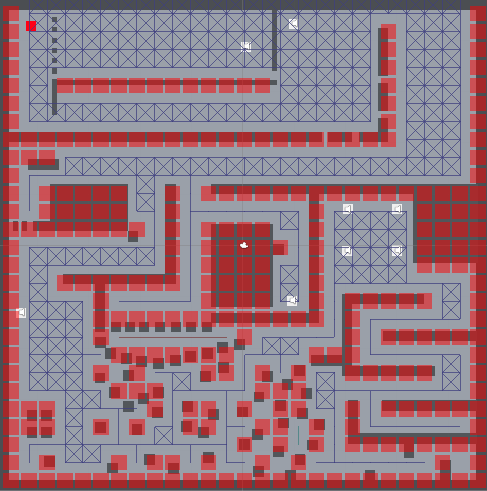
Enemy behaviour is simple: each enemy figures out a path to the player, follows that path, and updates it periodically. Pathfinding, of course, is an entire subject in itself. Fortunately, I didn’t have to write this aspect myself. I had previous experience using the A* Pathfinding Project in my final project for university, and the functionality I needed here was almost identical to how I’d used it previously. I followed the tutorial on the project site to get it set up, tweaked the parameters as necessary, and then stole my own code from my university project to make use of the generated gridgraph.
It’s very simple, and enemies occasionally got stuck on the geometry, but this was fixed by simply moving the problem parts of the level to accommodate. For what I needed in this project, the plugin offers a very quick and easy solution. There’s a picture of the complete level with the applied gridgraph in the gallery.
Design
As I mentioned above, the concept arrived in my head fully formed. The enemies’ behaviour, not moving unless unseen, will be familiar to any Doctor Who fans, specifically the Weeping Angels race of creatures. I hoped that by combining this concept with the Monaco-style field of view I could create some tense, compelling gameplay.
This concept raised its own issues, though. Surely the player could just hug a wall and not let their field of view hit any open space, avoiding all enemies? This inspired me to make the walls of the level itself only appear once in the field of view. I made them fade away quickly too, after only 2 seconds. I want players to be constantly looking around while they seek their escape, as any real person in a dark, unfamiliar place would do when being pursued by ominous white squares.
The final vital component of the game is the sound. I wanted players to be aware of enemies gaining on them when out of the field of view without relying on any cues that would break that core mechanic, namely avoiding anything visual. Taking advantage of the player’s ears was the natural solution. I realised that I could use the sounds to further impose the oppressive atmosphere on the player, and so I centred all the effects around radio static. Each enemy has their own distinct sound, so that if the player becomes surrounded the noise will grow both to a crescendo and a cacophony. Conversely, if the player keeps their distance to the enemies, they’ll instead only have to put up with a very faint noise. I think even this quiet static carries with it a constant implied threat.
Finally, I intentionally kept the visual design very simplistic. I wanted to see if I could achieve an oppressive feeling just through the gameplay and the audio. I think I succeeded, but maybe I didn’t. Feel free to offer me some feedback.
So, to conclude, this is the first game of the Game a Week challenge in which I can say I’m very proud of the gameplay. I really love the way the game turned out, and feel each of the aspects I described above contribute to a product that’s greater than the sum of its parts.
Unfortunately, I probably won’t top this next week, as I’ll have hardly any time due to various commitments, including my graduation ceremony. But we’ll see how I fare.
Gallery
Just a quick warning, the final three images show the entire level, so if you haven’t completed it and want to retain some mystery, don’t view that one.


Audio Credits
I found each audio clip on freesound.org, the following of which are credited to their respective authors: